|
Kamloops (B.C.) |
||
|
1996 New Flyer "Low
Floor" model D40LF - Fleet series 9701-9749 |
||
|
|
||
|
Photo
Added: |
|
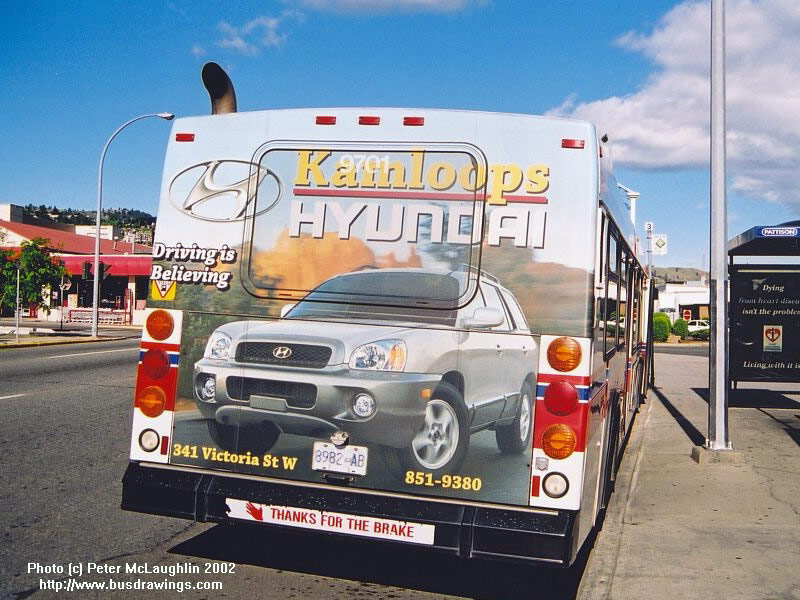
#9701 is seen at the Downtown Transit Terminal in this view captured by Peter McLaughlin on June 29, 2002. |
|
|
||
|
Photo |
|
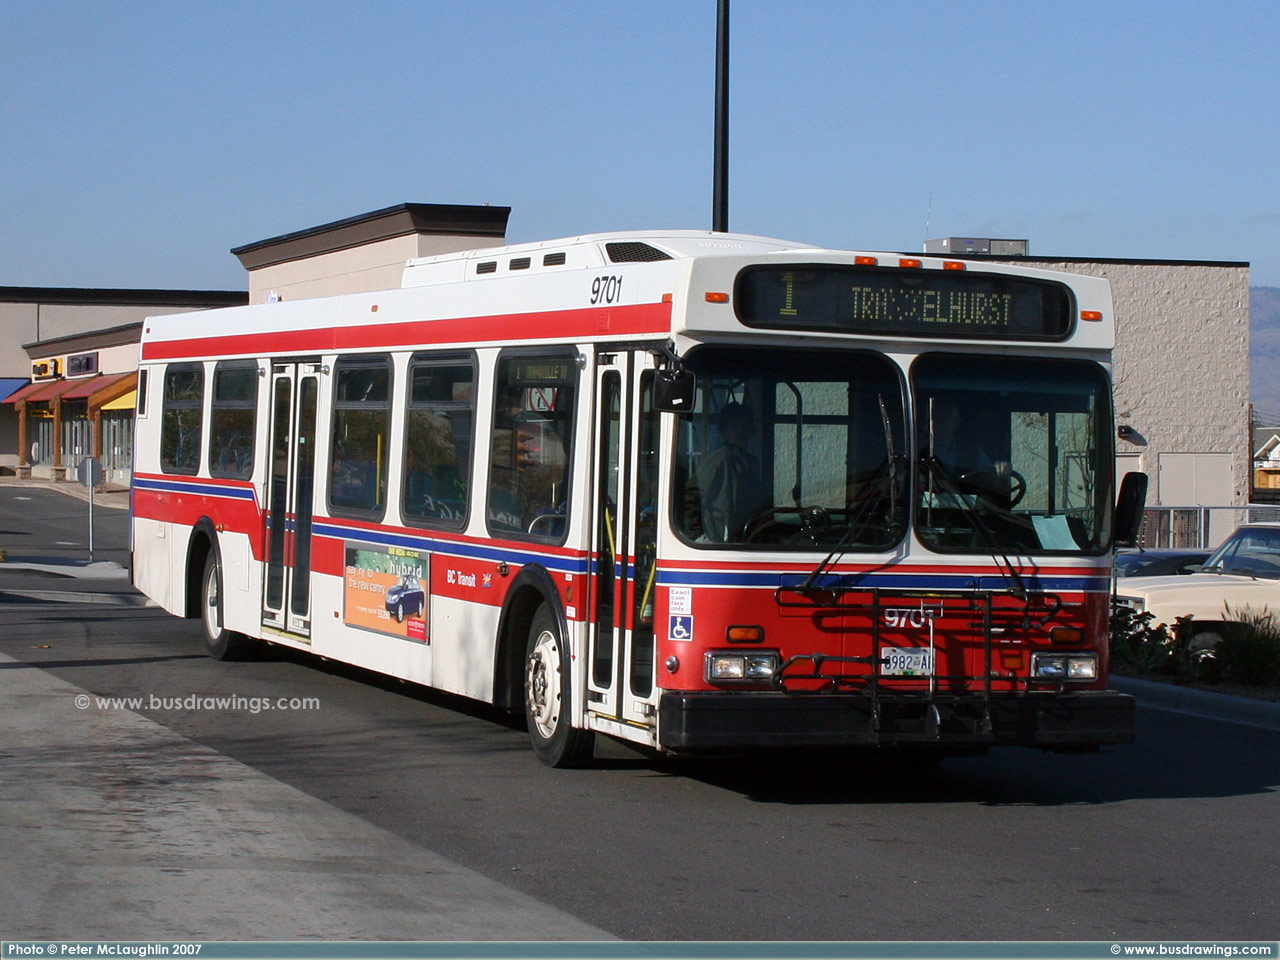
#9701 in Downtown Kamloops on October 26, 2007. Photo captured by Peter McLaughlin. |
|
|
||
|
Photo Added: |
|
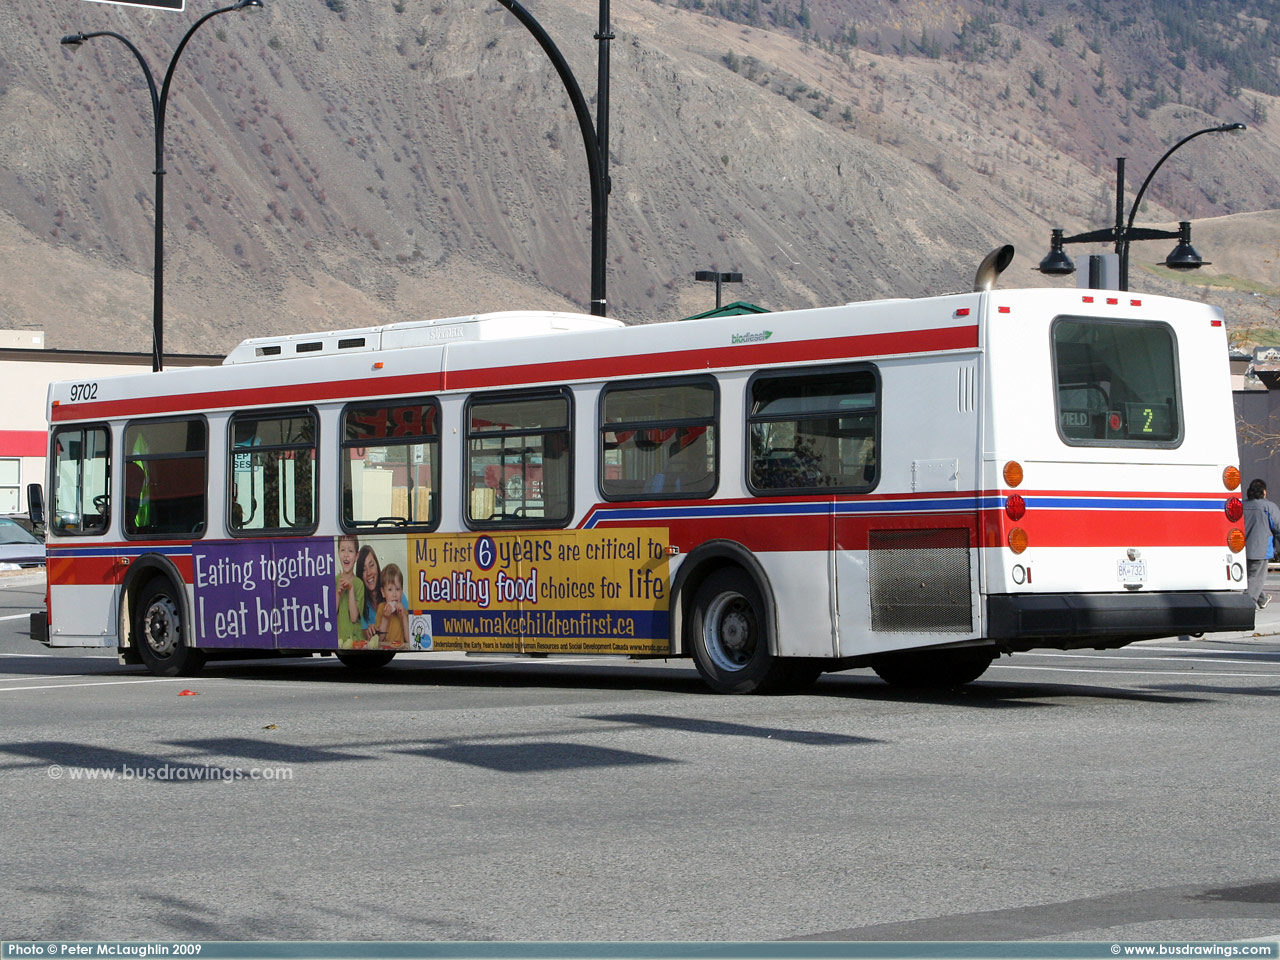
#9702 in Downtown Kamloops on October 24, 2009. Photo captured by Peter McLaughlin. |
|
|
||
|
Photos Added: |
|
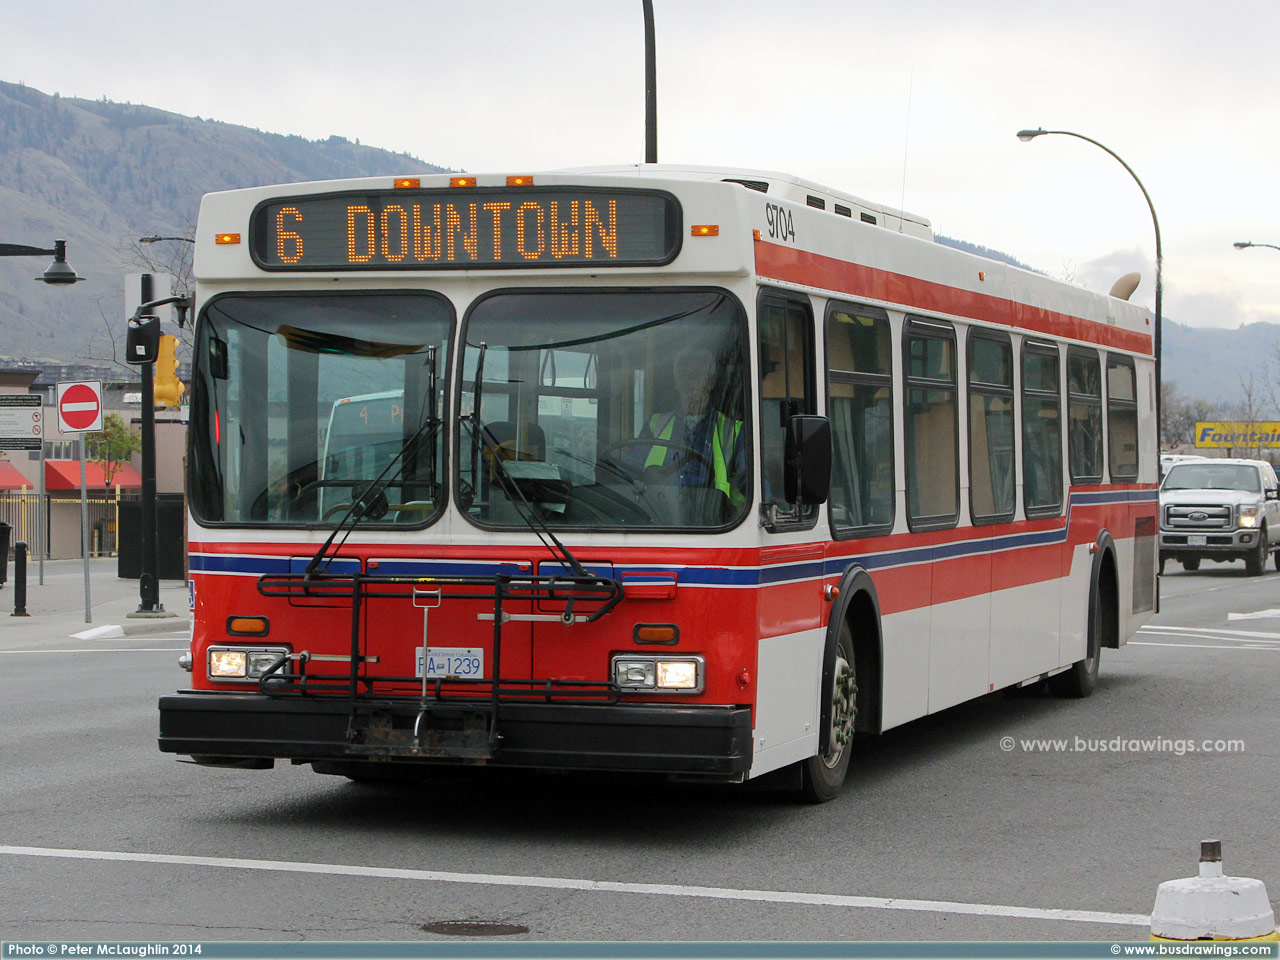
#9704 leaving the downtown Transit Terminal on April 19, 2014. Photos captured by Peter McLaughlin. |
|
|
||
|
Photo
Added: |
|
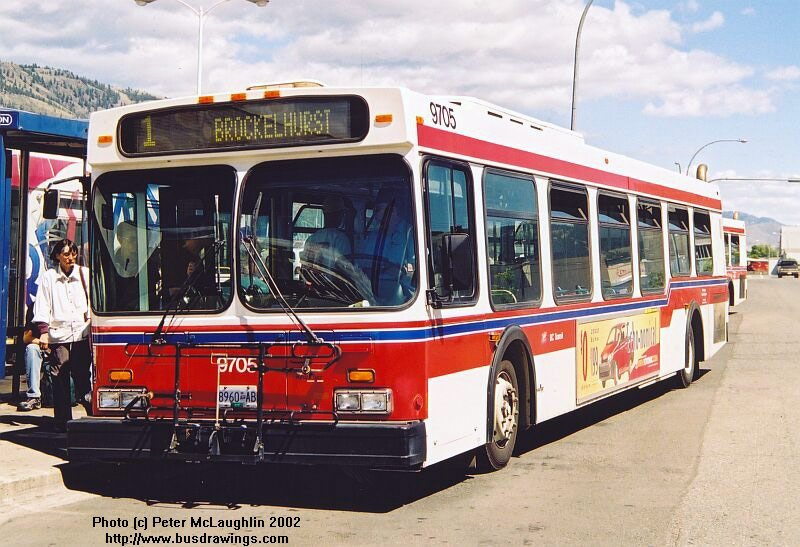
#9705 is seen loading passengers at the Downtown Transit Terminal in this view captured by Peter McLaughlin. #9705 was assigned to a route 1 Brockelhurst on June 29, 2002 when this photo was taken. |
|
|
||
|
Photo Added: |
|
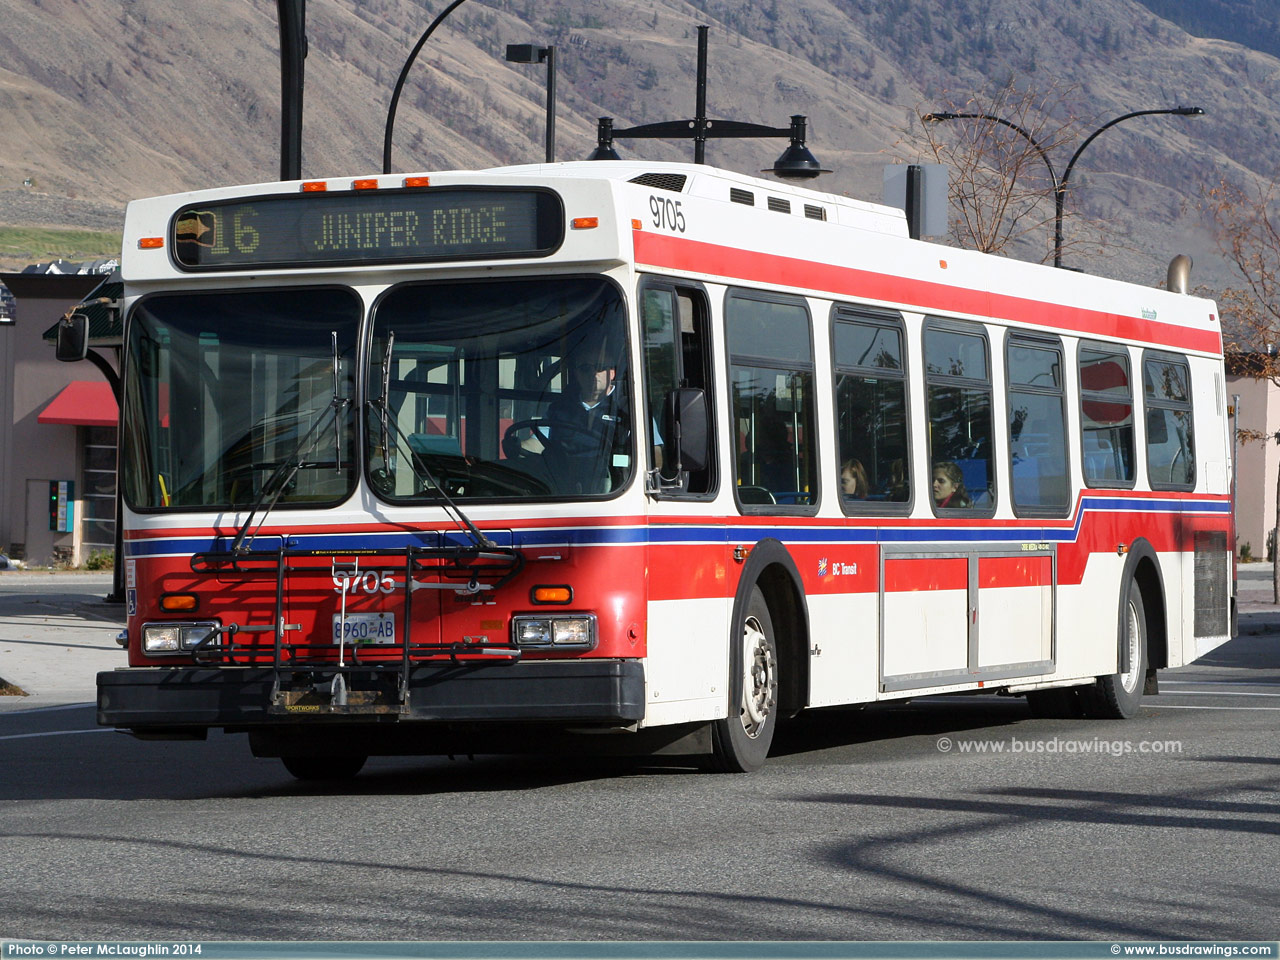
#9705 departing from the downtown Transit Terminal on October 24, 2009. Photo captured by Peter McLaughlin. |
|
|
||
|
Photo Added: |
|
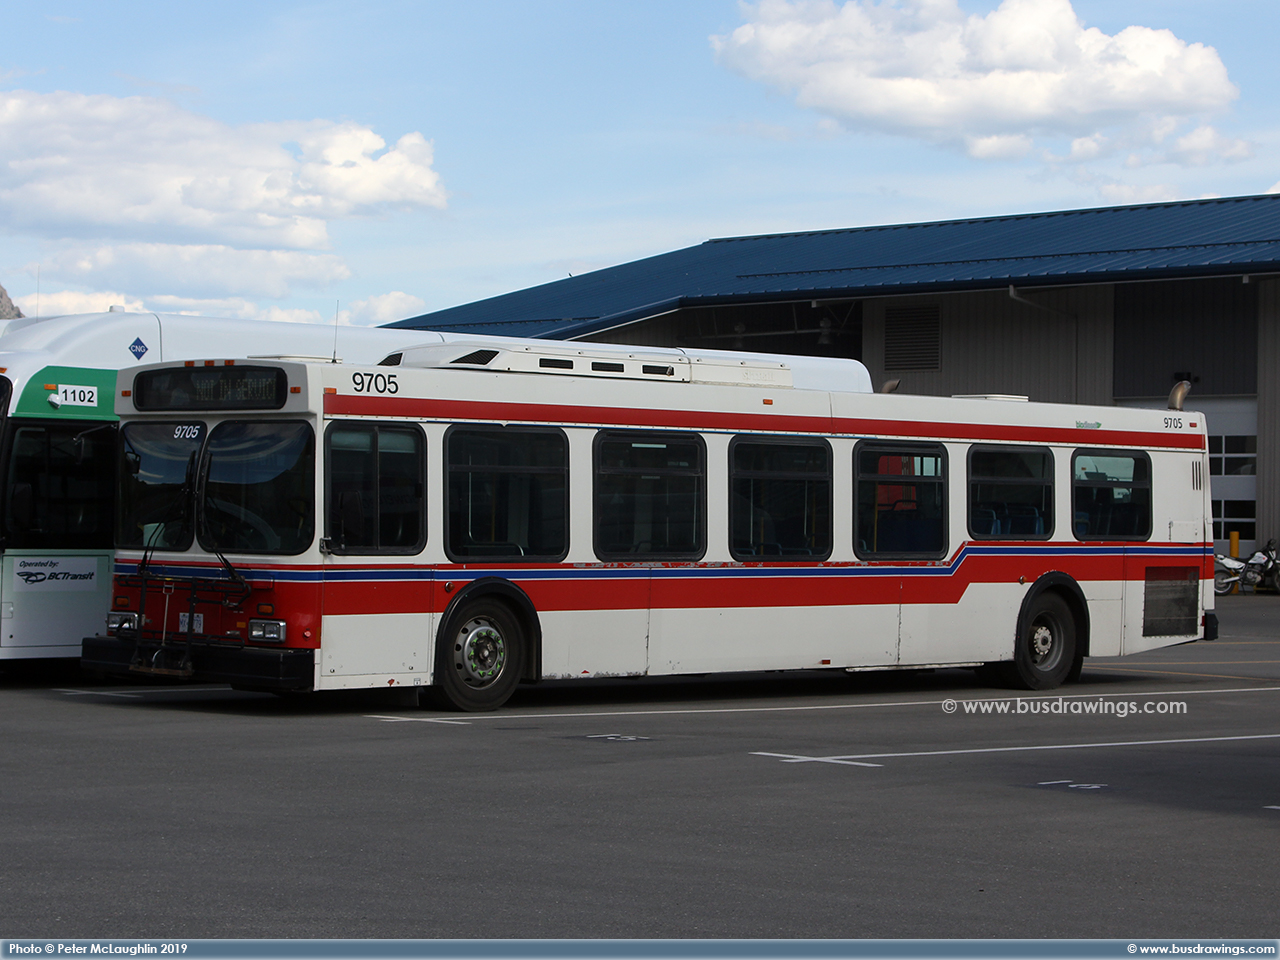
#9705 resting at the garage on June 15, 2019. Photo captured by Peter McLaughlin. |
|
|
||
|
Photo
Added: |
|
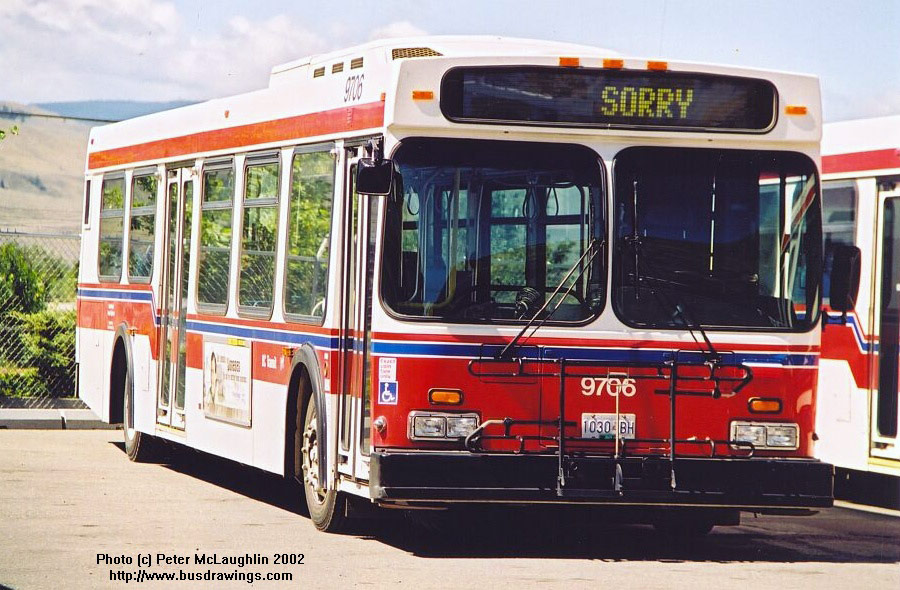
SORRY! This bus was "Not In Service" when this shot was captured by Peter McLaughlin on June 29, 2002 at the Kamloops Transit Yard of #9706. |
|
|
||
|
Photo |
|
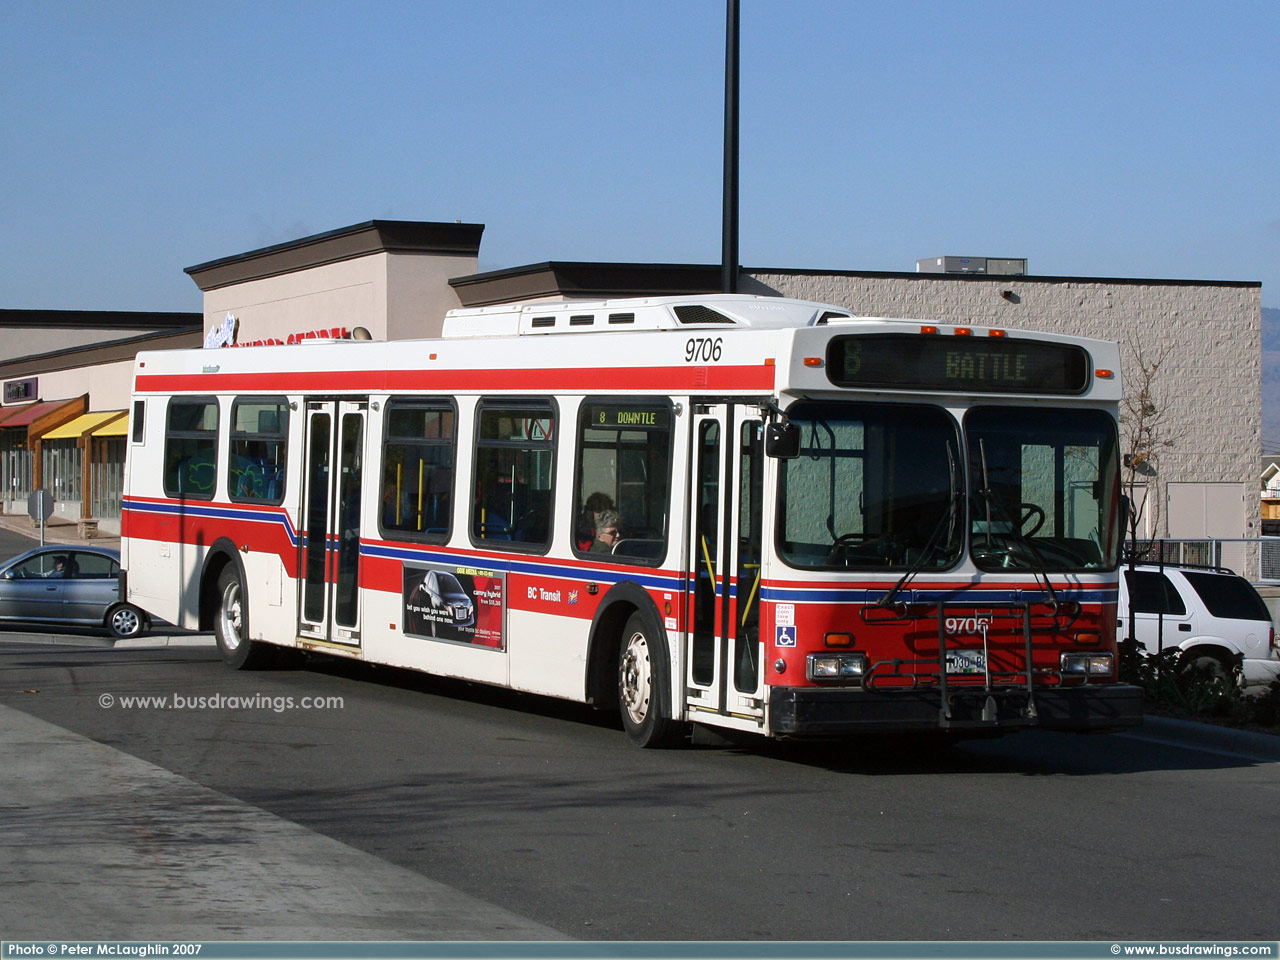
#9706 in Downtown Kamloops on October 26, 2007. Photo captured by Peter McLaughlin. |
|
|
||
|
Photo |
|
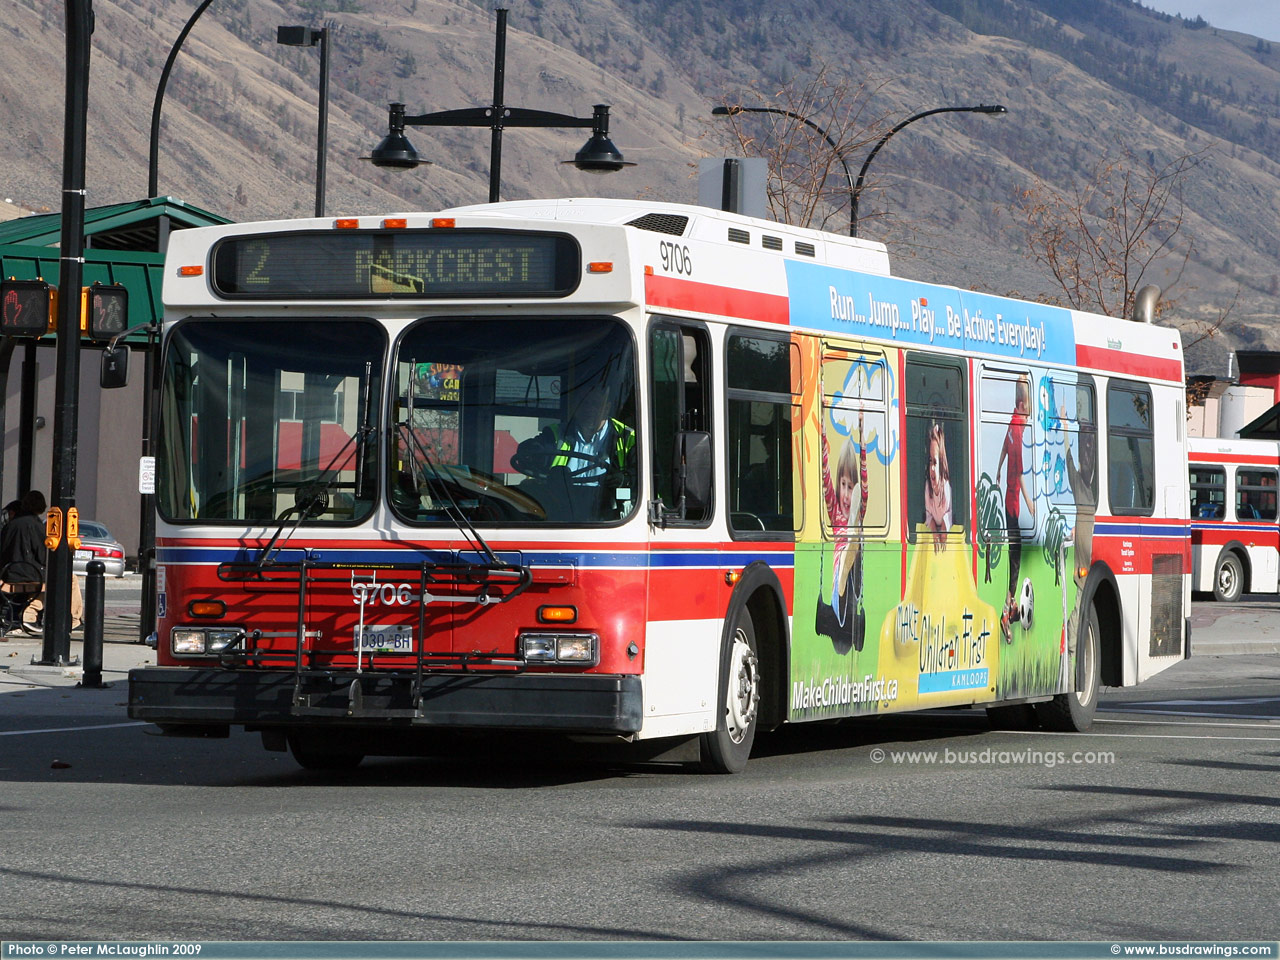
#9706 in Downtown Kamloops on October 24, 2009. Photo captured by Peter McLaughlin. |
|
|
||
|
Photo Added: |
|
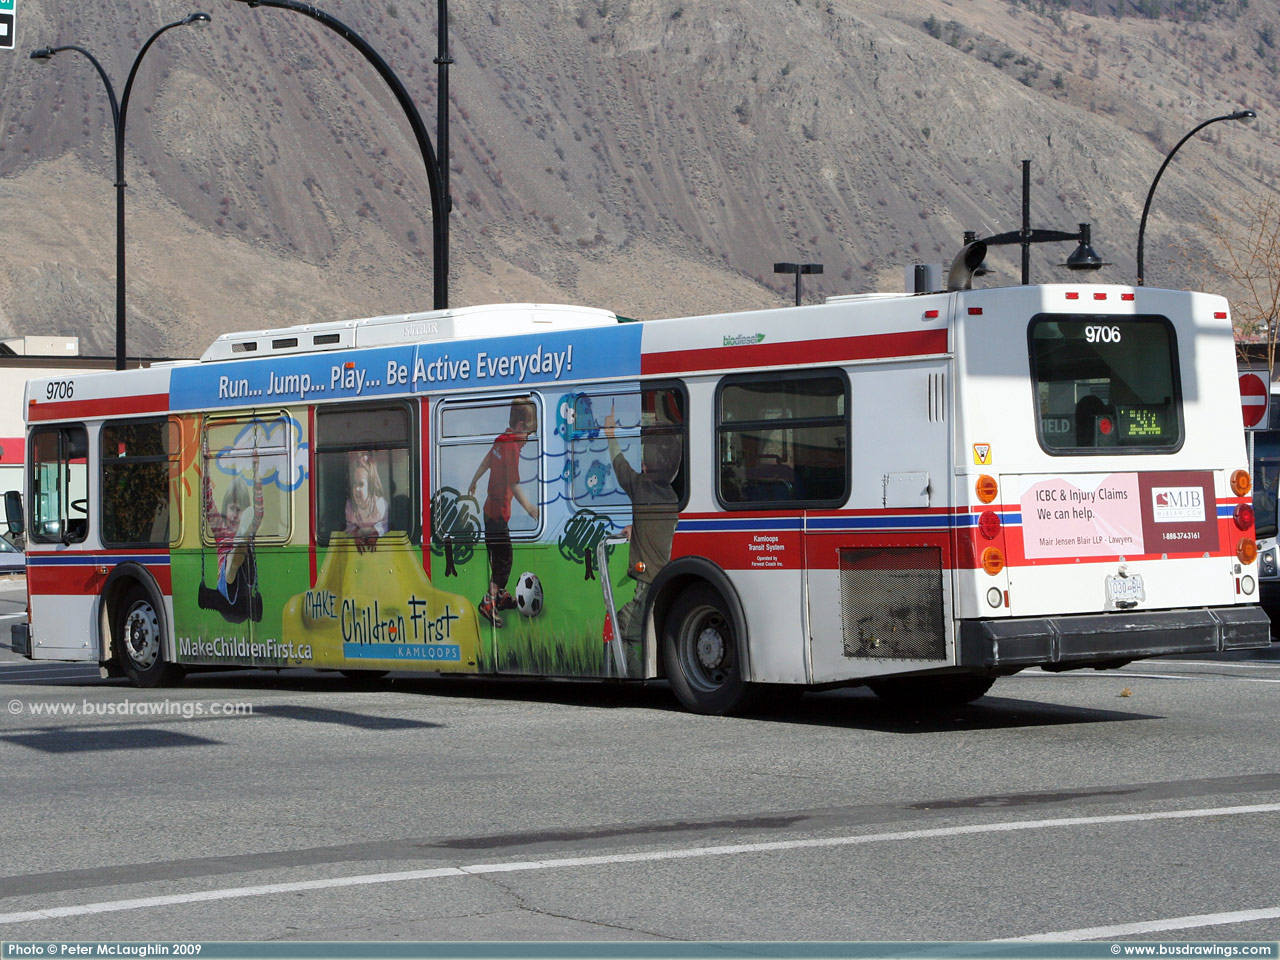
#9706 in Downtown Kamloops on October 24, 2009. Photo captured by Peter McLaughlin. |
|
|
||
|
Photo |
|
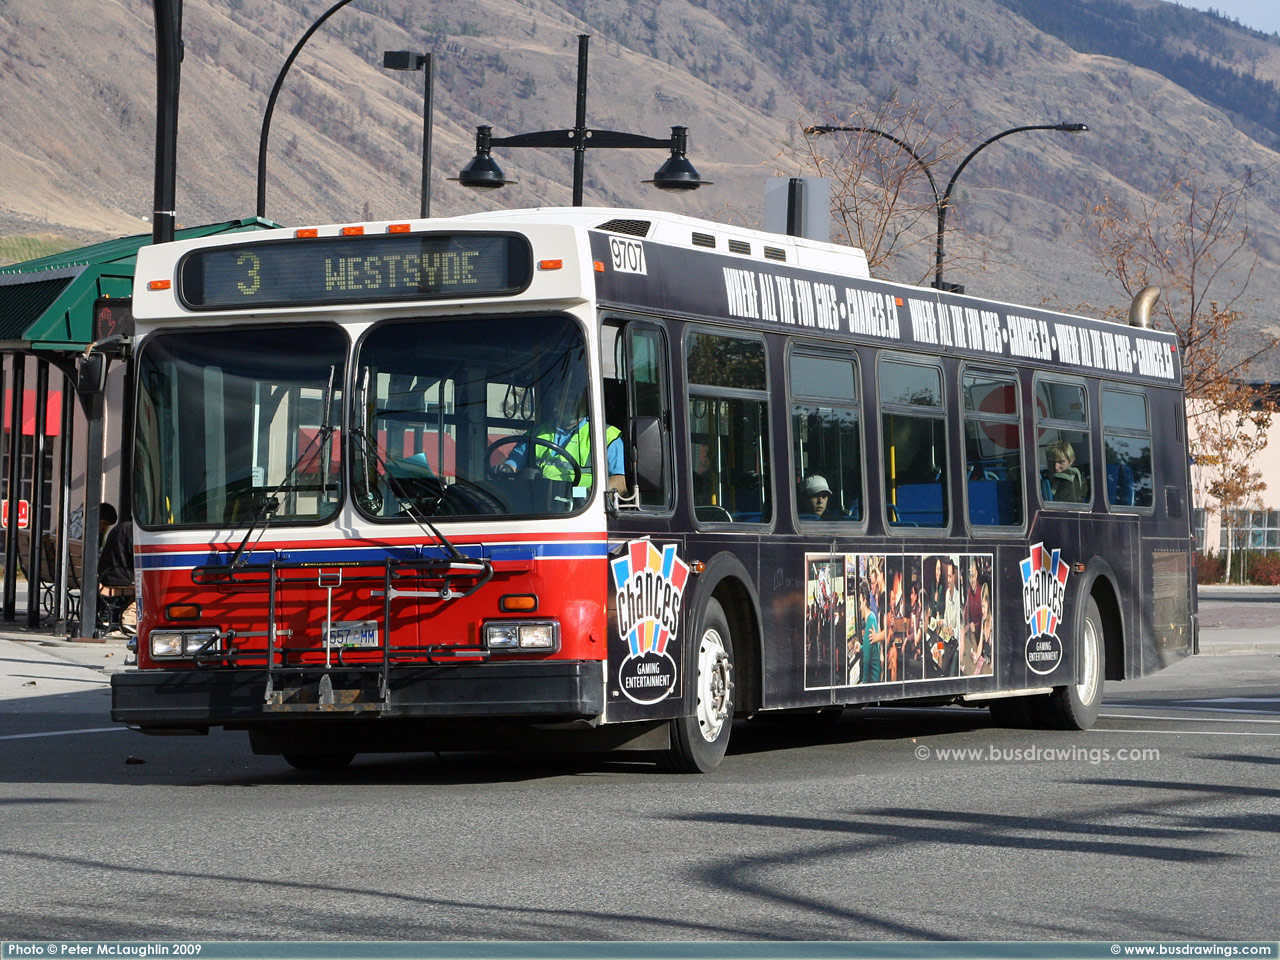
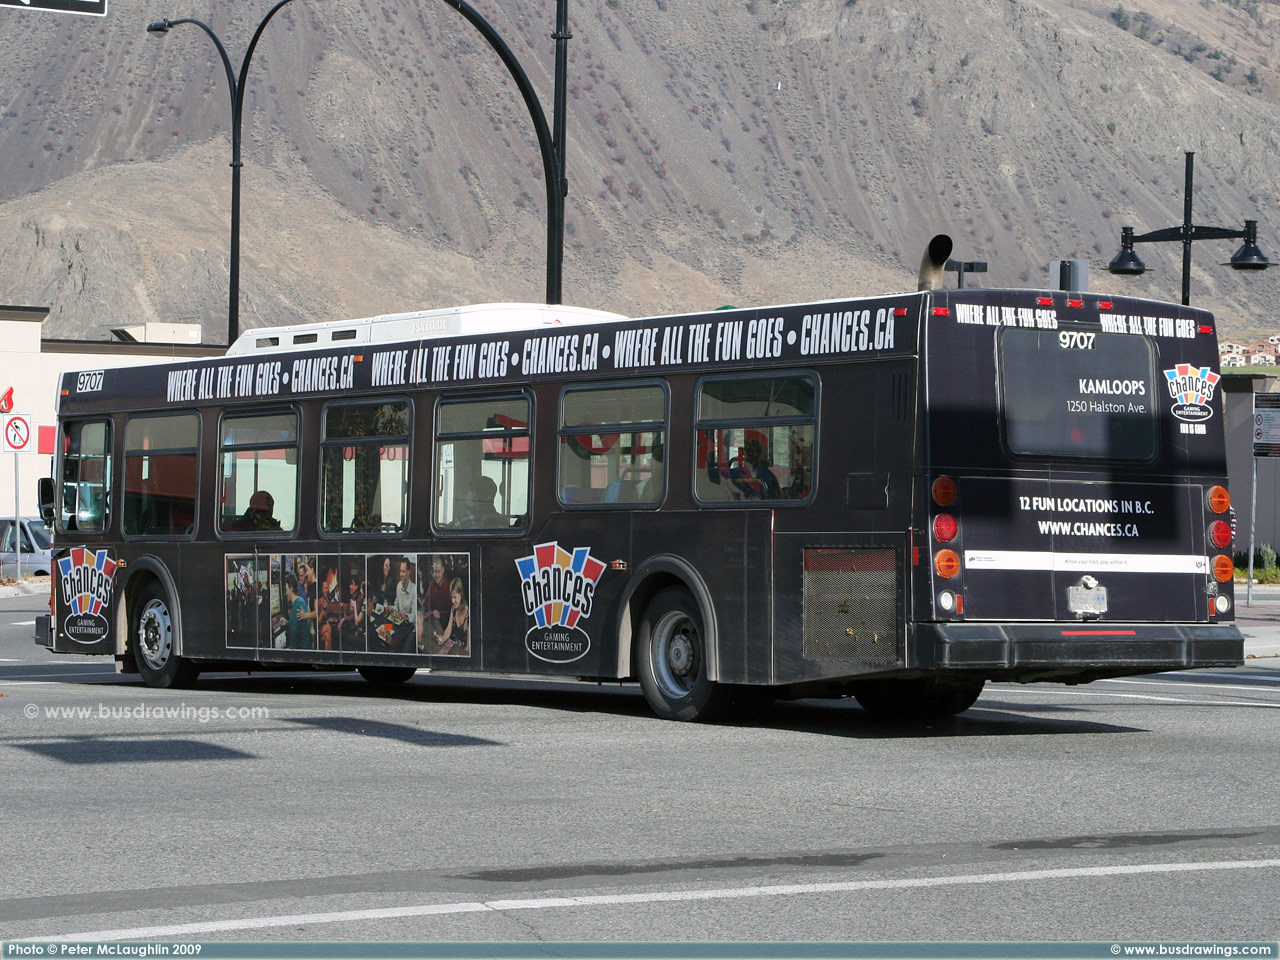
#9707 in Downtown Kamloops on October 24, 2009. Photo captured by Peter McLaughlin. |
|
|
||
|
Photo Added: |
|
#9707 in Downtown Kamloops on October 24, 2009. Photo captured by Peter McLaughlin. |
|
|
||
|
Photo Added: |
|
#9715 is seen retired at the Kamloops Garage in this image taken on June 15, 2019. Photo captured by Peter McLaughlin. |
|
|
||
|
Photo Added: |
|
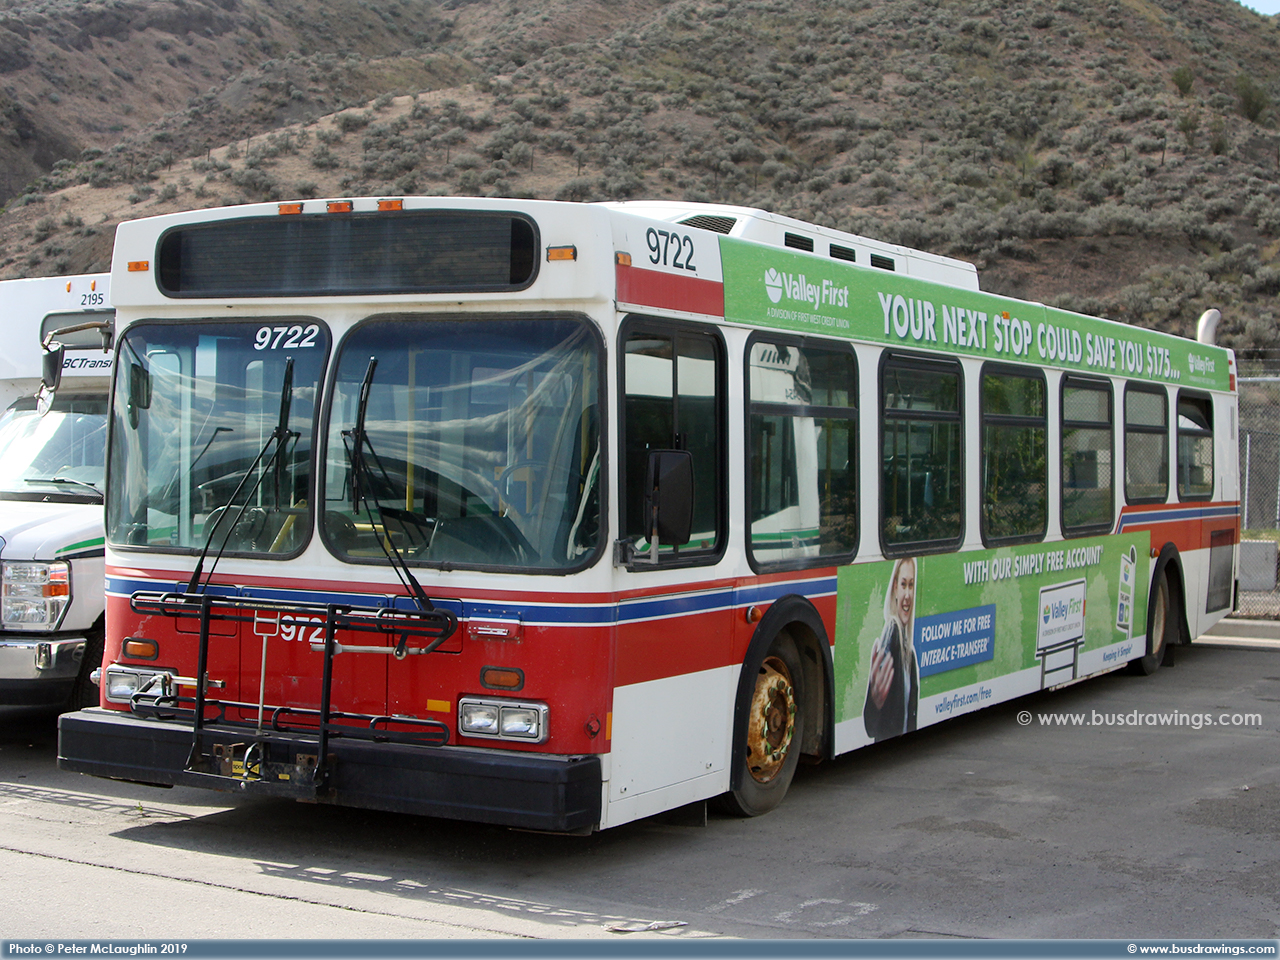
#9722 is seen retired at the Kamloops Garage in this image taken on June 15, 2019. Photo captured by Peter McLaughlin. |
|
|
||
| Main Page http://www.busdrawings.com | ||
 |
||